This October just gone saw the fifth anniversary of my lady friend and I getting together. For those who don’t know, we met by way of being flatmates during my second year of university. It was rather an impromptu situation, as the friends I originally planned to move in with had to cancel at the last minute. We found each other using a London students accommodation website and after only three weeks of living together, we hooked up…
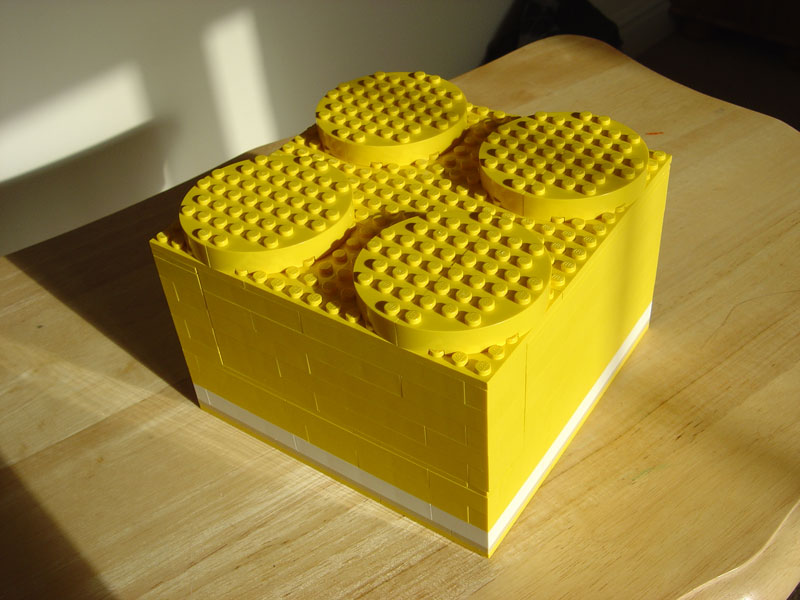
So, to mark our fifth anniversary, I had the idea of recreating the room we did said hooking up in, the living room of that first house. But not just any old recreation, ho no; I would build it out of LEGO!
The first thing to do was to craft a maquette of said living room. In addition to my memory, I had two whole photographs to go on:
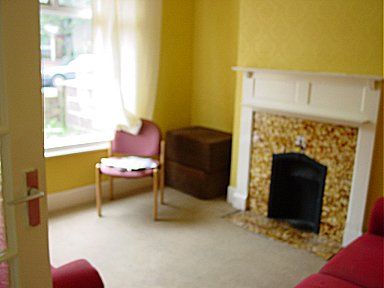
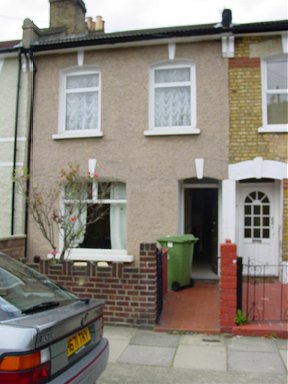
These being the photos that my lady friend sent me in that very first email on 15th September 2002, telling me about a house that she and a couple other people needed, “ONE, just ONE person,” for…
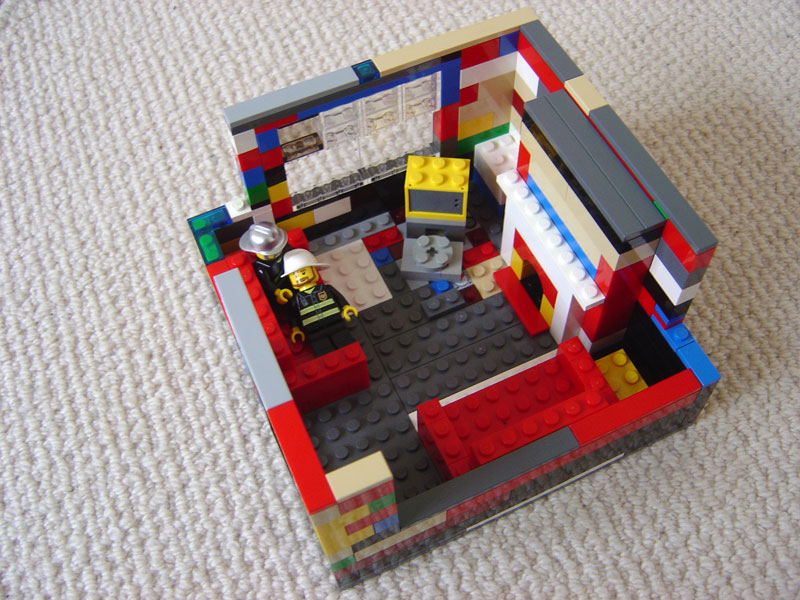
So, after about a month, I had finished the sketch model, complete with firemen stand-ins for my lady friend and myself:
The next step was to construct a 3D LDraw model. As I’ve written before, Bricksmith is my weapon of choice for doing this on the Mac, but there is plenty of other software for other platforms.
Using my maquette as a starting point, I worked out the actual bricks I’d use to build the final model, which included the obligatory unofficial ones:
 30179: Door 1 x 4 x 6 Frame |
 30178c01: Door 1 x 4 x 6 with 3 Panes |
If you like, you can even play with the LDraw file I produced.
Unfortunately, LEGO only ever produced the door itself in grey, black, yellow and blue, not the white I needed, so I went with the closest of the four. Also, I initially wanted to use a grooveless grey tile on the PlayStation, so that it would look more like the real thing. However, as such a part has not been sold since 1981, the one I got in the post was very scuffed and discoloured, so in the end I decided to use a shiny new grooved one instead.
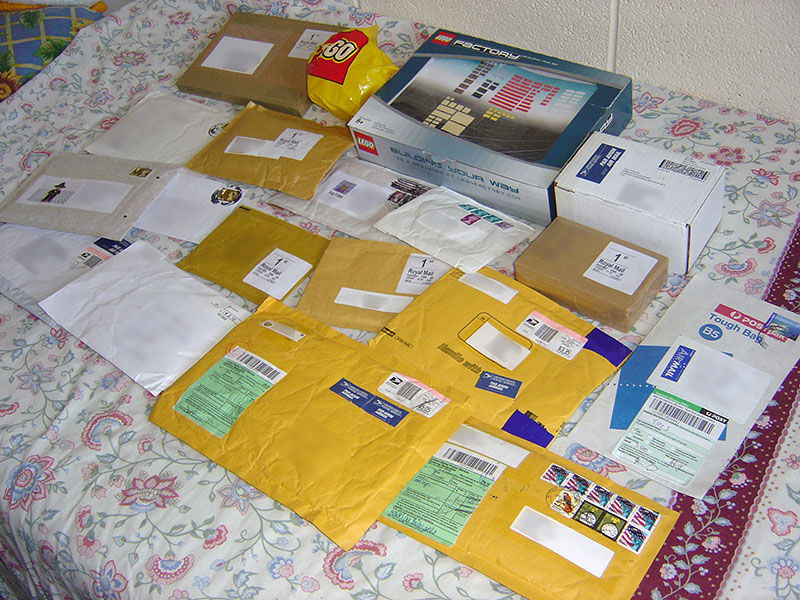
Speaking of parts, I bought most of them from 17 different BrickLink sellers from all over the world:
Additionally, I got what I could from the LEGO Factory and also a few bricks from the LEGO Store.
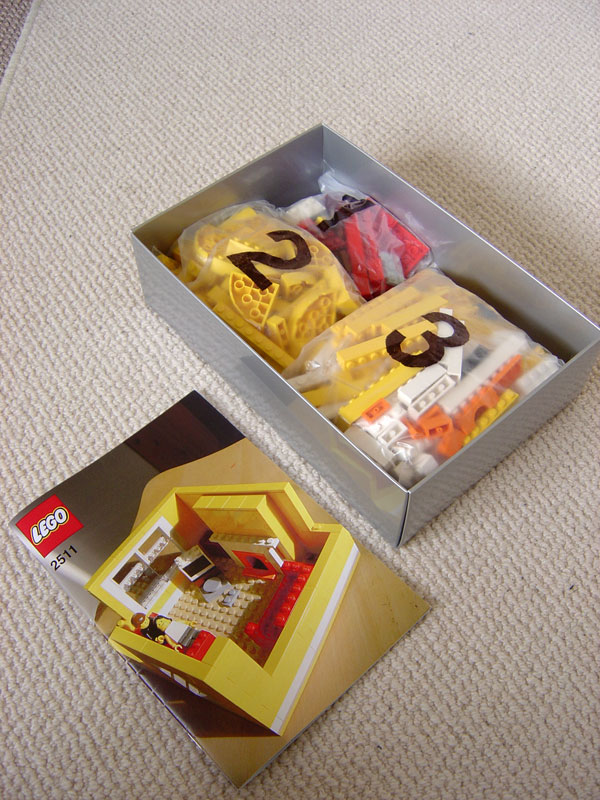
So, once I had all the pieces and could build it for real, the next step was to produce a printed instruction manual in the same style as one you would get when buying a LEGO set in the shop.
The instruction rendering stage was far more convoluted than you might imagine but can be briefly summed up as; I used Bricksmith’s “Export Steps…” facility, ran the .ldr files produced through L3P Launcher and then added a few lines of text to each of the resulting .pov files to add appropriate lighting and outlines. Finally, I used version 0.7 of MegaPov to render the final images. Allen Smith, the creator of Bricksmith, was of great help during this process, and without his advice I would not have been able to produce such fine quality images.
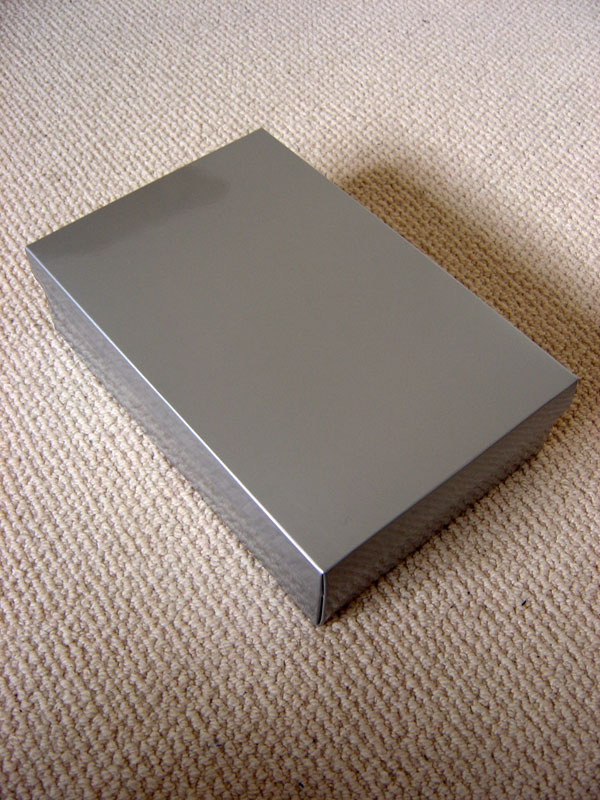
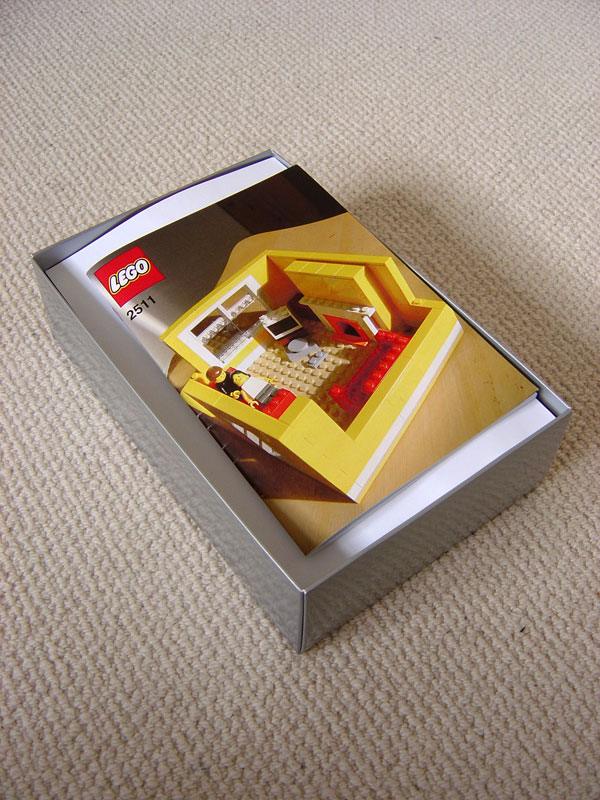
As well as the individual steps of the living room itself, I rendered instructions for the furniture and roof, and also each piece all by itself so that I could produce inventory pages. I originally planned to produce box art as well, but as I could not find anywhere that would print on the card stock I required, in the end I decided to use a simple gift box. I managed to find one exactly the right size too, which was nice.
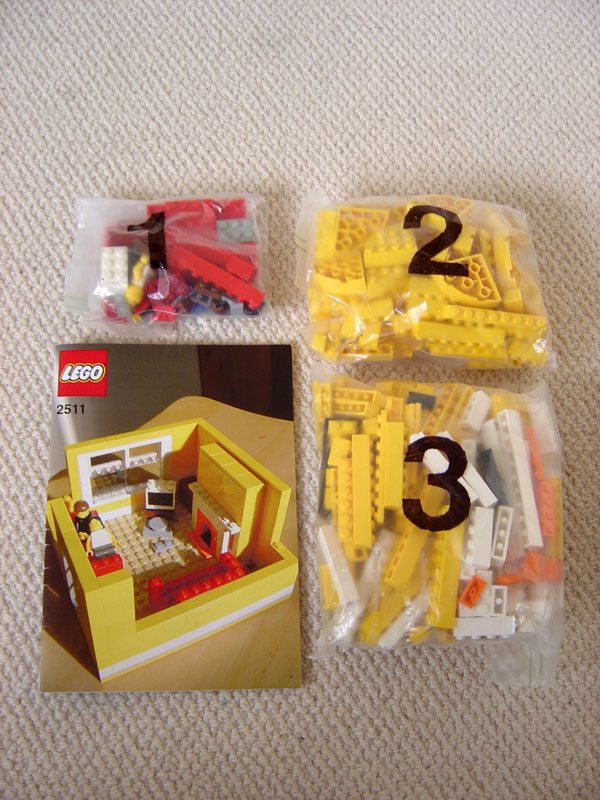
My university's copy shop was able to print the manual itself just how I liked it:
Following in the style of recent LEGO models, I split the building process into three distinct stages and put the pieces for each stage in appropriately numbered bags:
Two final comments on the manual itself. First, the LEGO logo on the front cover is courtesy of brandsoftheworld.com. Second, throughout all my painstaking work, I somehow managed to miss that I had used 25th November (25/11) instead of 25th October (25/10) as the basis of the model number…
I didn’t spot this until I actually gave the present to my lady friend. I felt rather sheepish but happily she was simply bemused by my mistake, almost certainly on account of all the rest being so very mighty. I’ve left the model number as 2511 (instead of changing it to 2510) as a reminder of my own foolishness.
Finally, here are the instructions themselves:
 |
|
 |
 |
 |
 |
 |
 |
 |
 |
 |
 |
 |
 |
 |
 |
 |
 |
 |
 |
 |
 |
 |
 |
 |
 |
 |
 |
 |
 |
 |
 |
 |
 |
 |
 |
 |
|
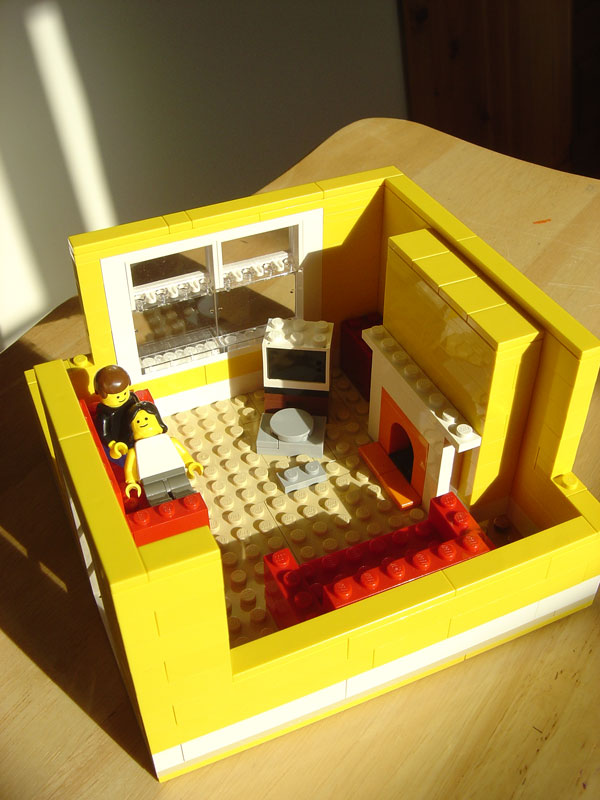
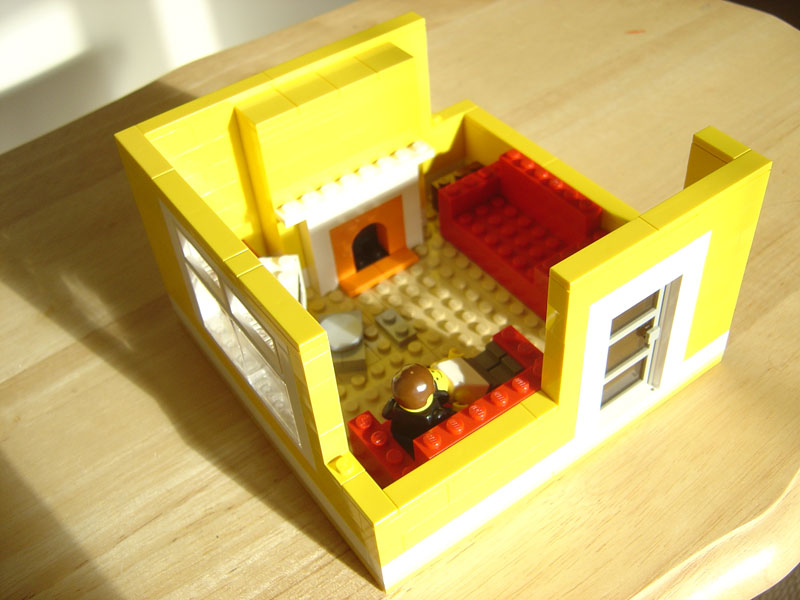
And last of all, finally finally, some more photos of the actual model once built:
Finally finally finally, I bought enough bricks that I could build two models and got two instruction manuals printed and bought two boxes and stencilled numbers on two sets of plastic bags so that… both my lady friend and I have a version of this LEGO set! And when, on our actual anniversary, we could not be together on account of her being in Germany? We used Skype and an EyeToy connected to her PowerBook and a video camera connected to my MacBook and we built it together, watching each other play with LEGO… it was mighty.
